Our New Kitchen
January 2017
After living with a shabby 1950's kitchen for 17 years, I finally pulled out the plans that I had been working on over time, and got the sledge hammer out. I originally felt bad about the idea of getting the cabinets from Ikea, like my workshop would be neglected, but that wasn't the case. The reno involved replacing a wall with a reinforced 1" MDF wall, shifted 10" over. This added more room to the kitchen that needed it desperately and refined the cloak room and bathroom.
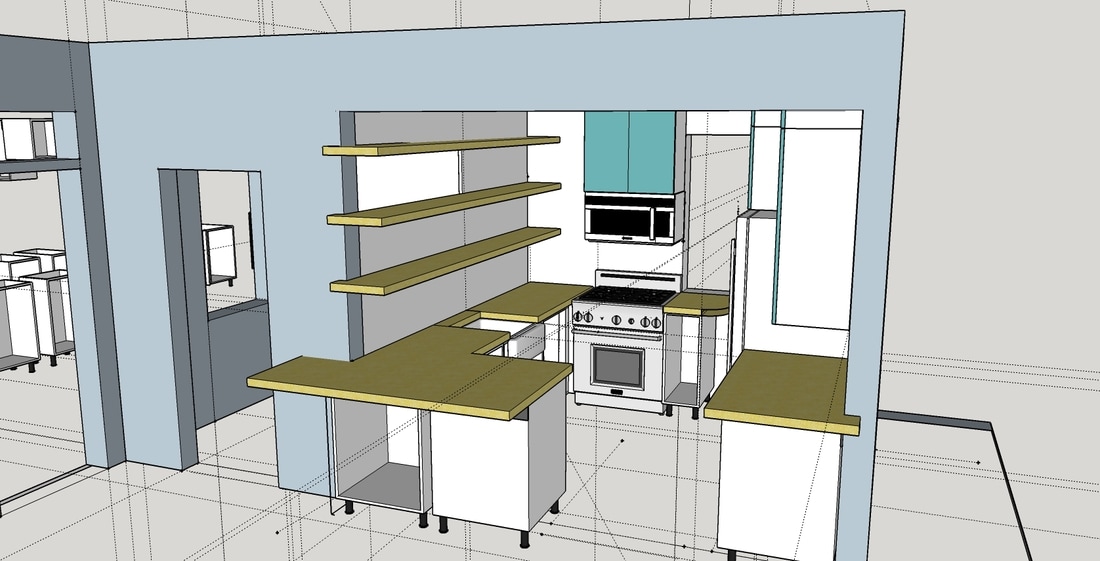
I drew this up using Sketchup. Great program and it's free.
There were obviously changes made, but it sure helped with sorting out positioning, which was later translated into the Ikea program to get pricing.
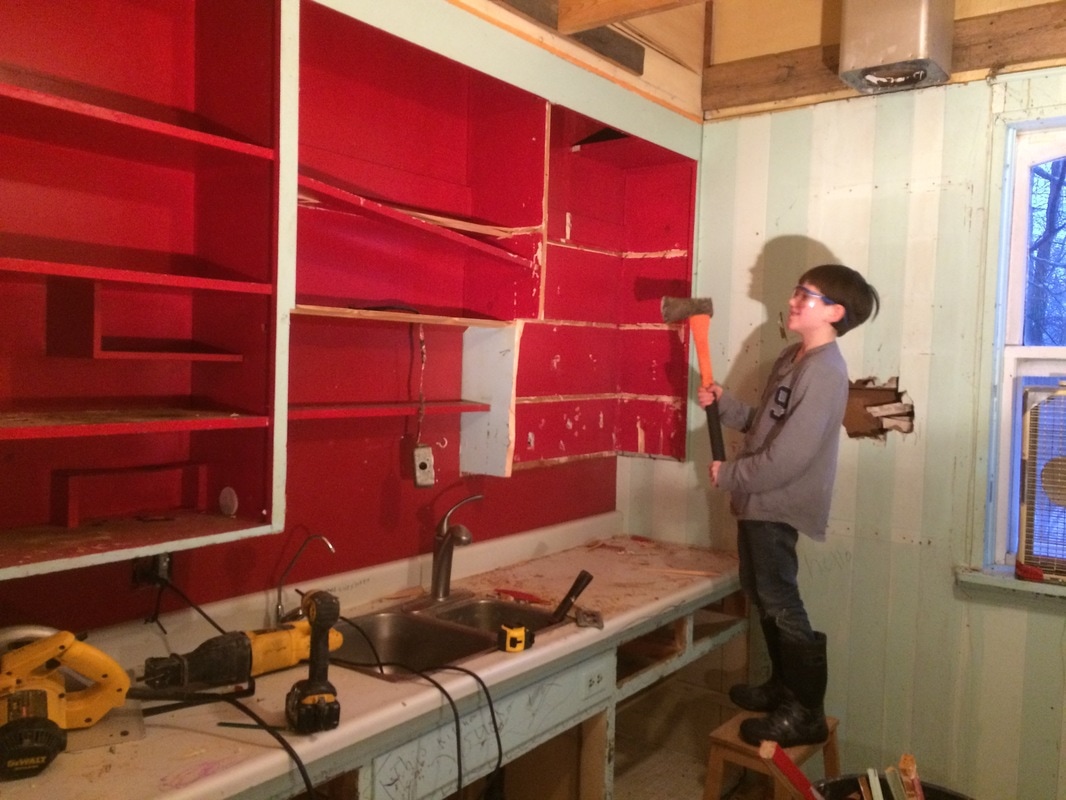
Declan was given first swing with the axe. There were a couple drawers in the old kitchen that we were afraid to open because they were so gross. The suspended ceiling came down 18" from the original, and the tiles were not pretty.
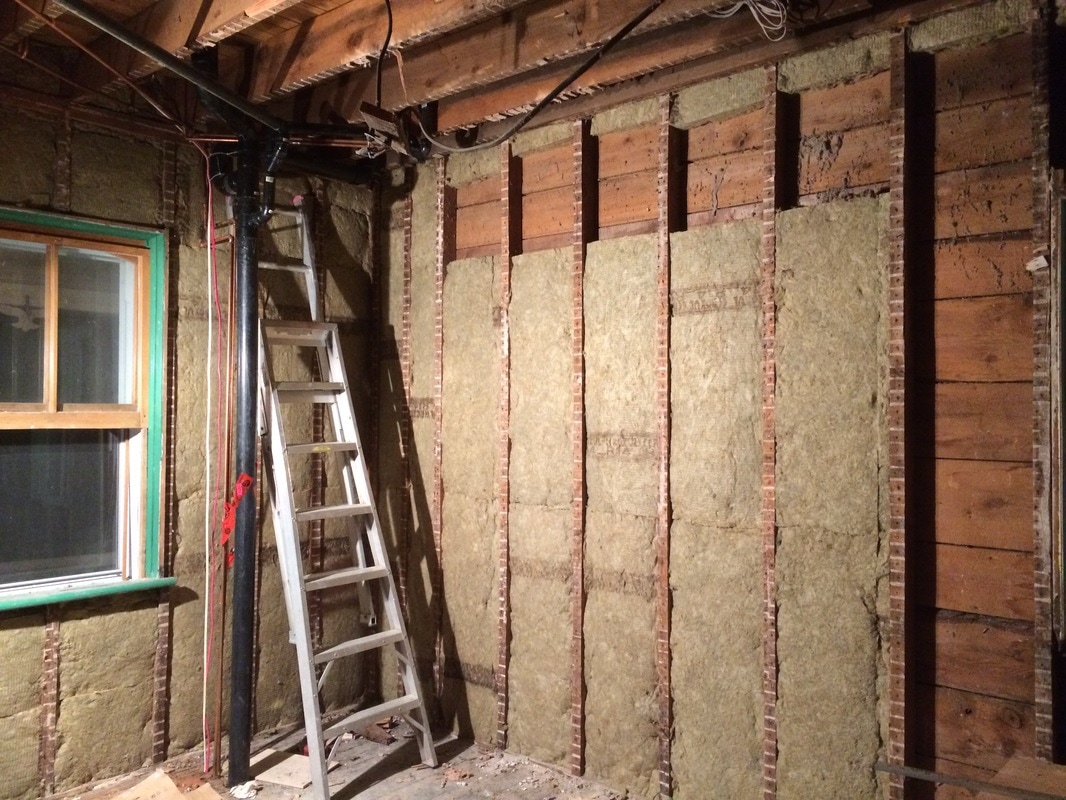
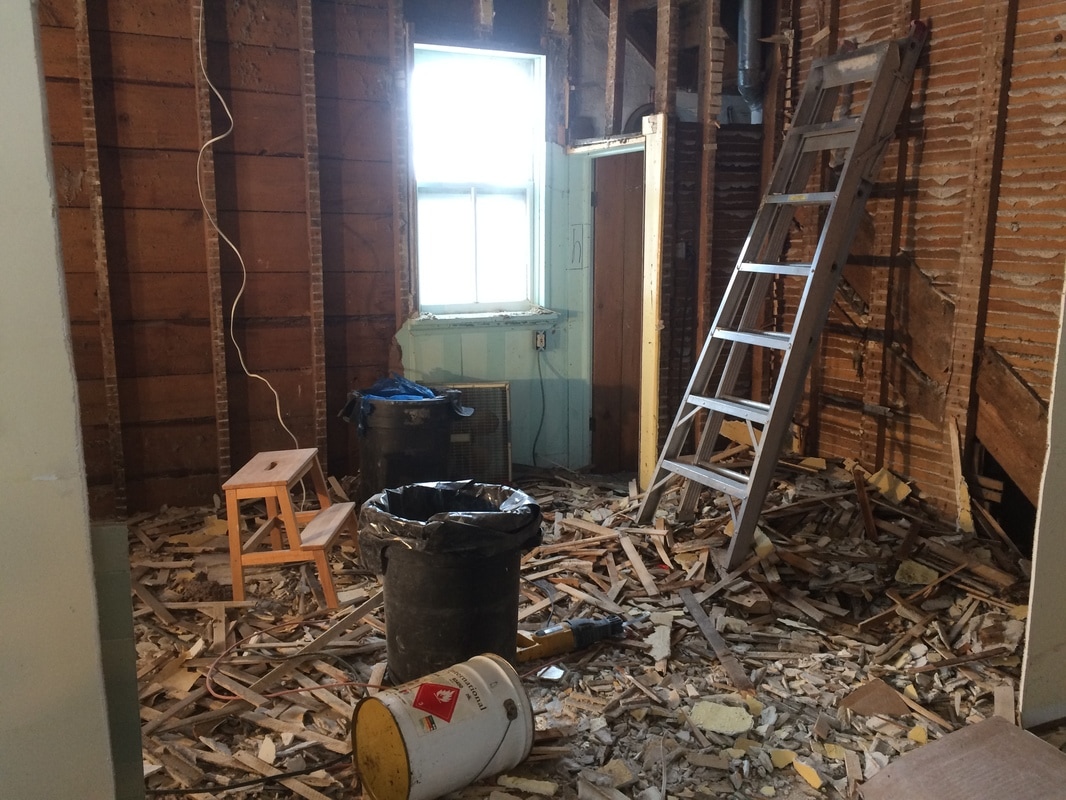
Picture taken from same place as pic above, so the whole wall is gone. Lath and plaster came down from the whole ceiling too so that I could reroute some crazy plumbing and wiring. Only one piece of insulation didn't need to be cut to size due to the irregular stud spacing.
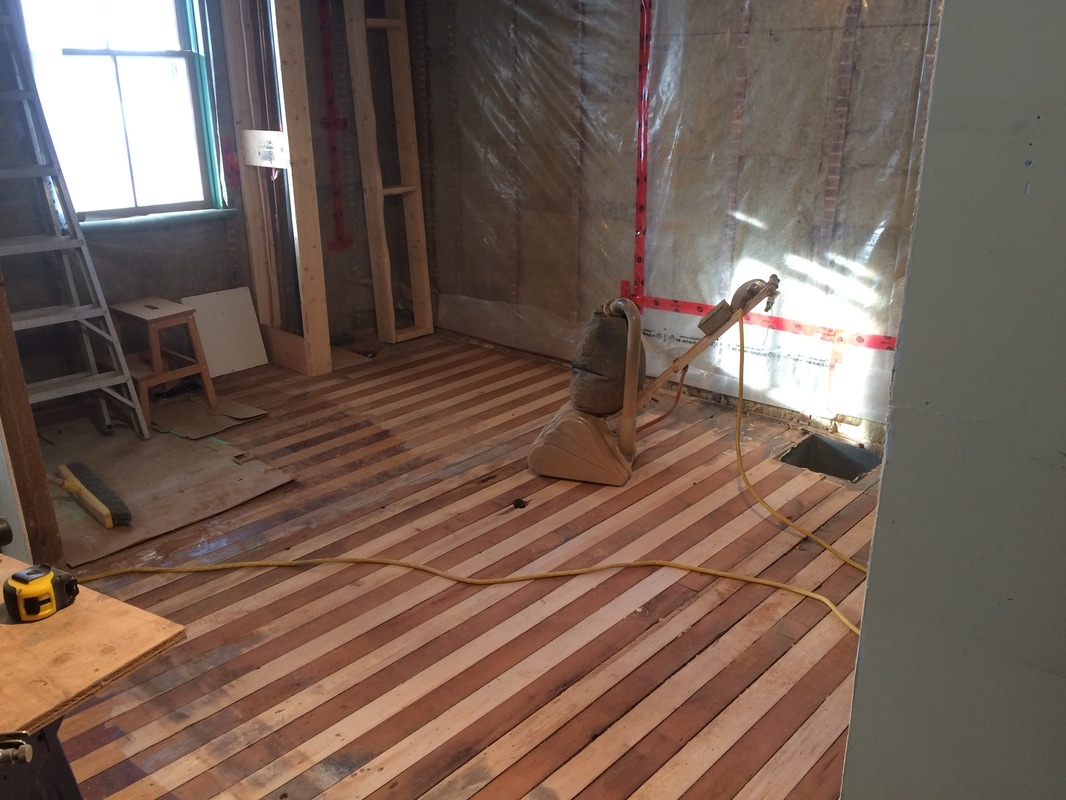
While the space was wide open, I rented a floor sander and did a heavy leveling. Started with 26 grit. (I don't think you can get sandpaper any more coarse than that.) Went up to 80 grit. Came back at the end and did another sand with my own beltsander and put a couple of coats on to seal it for now. These are the original floor boards from 1886, 1 1/4" maple, cherry, maple, cherry...
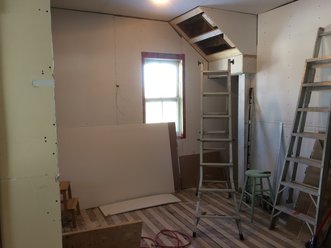
Drywall went up fast. It's amazing how accurate you don't have to be, as long as the walls are straight.

1" MDF wall in place. Probably 200 screws holding that thing up, and good thing, because it's going to be supporting a lot...
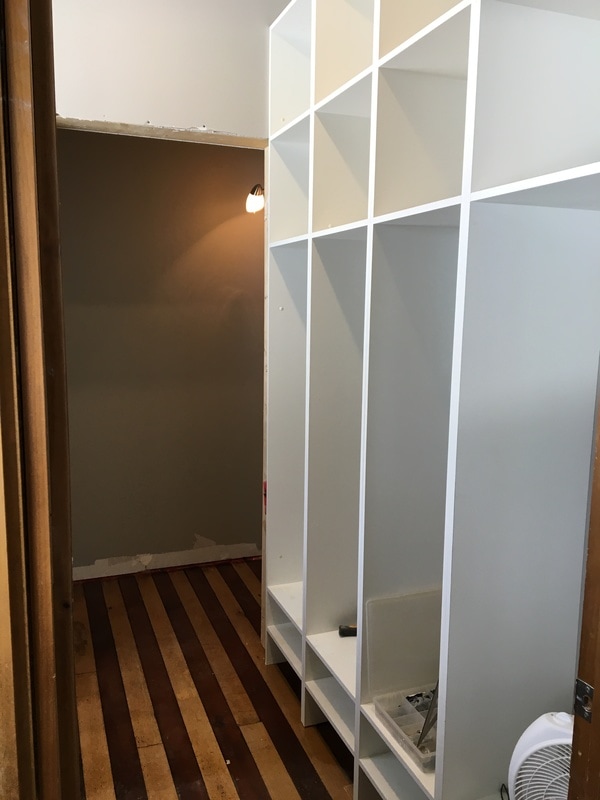
Meanwhile, on the other side of the wall... I made these cubbies out of 5/8" melamine in a day. They are 97" tall because I didn't even bother trimming the factory edge since it's already straight and the rough edge will be covered. The uprights also act as support for the 1" wall to be screwed into.
The upper cabinets were 36" wide each. They had to fit in a 73" opening with one 5/8" panel too. They did!
|
After punching a hole in the wall, I realized there was no insulation, so that meant that all the lath and plaster came down. We were lucky that Judy and the kids were staying next door across the lake house sitting while the neighbours were on vacation. Very lucky.
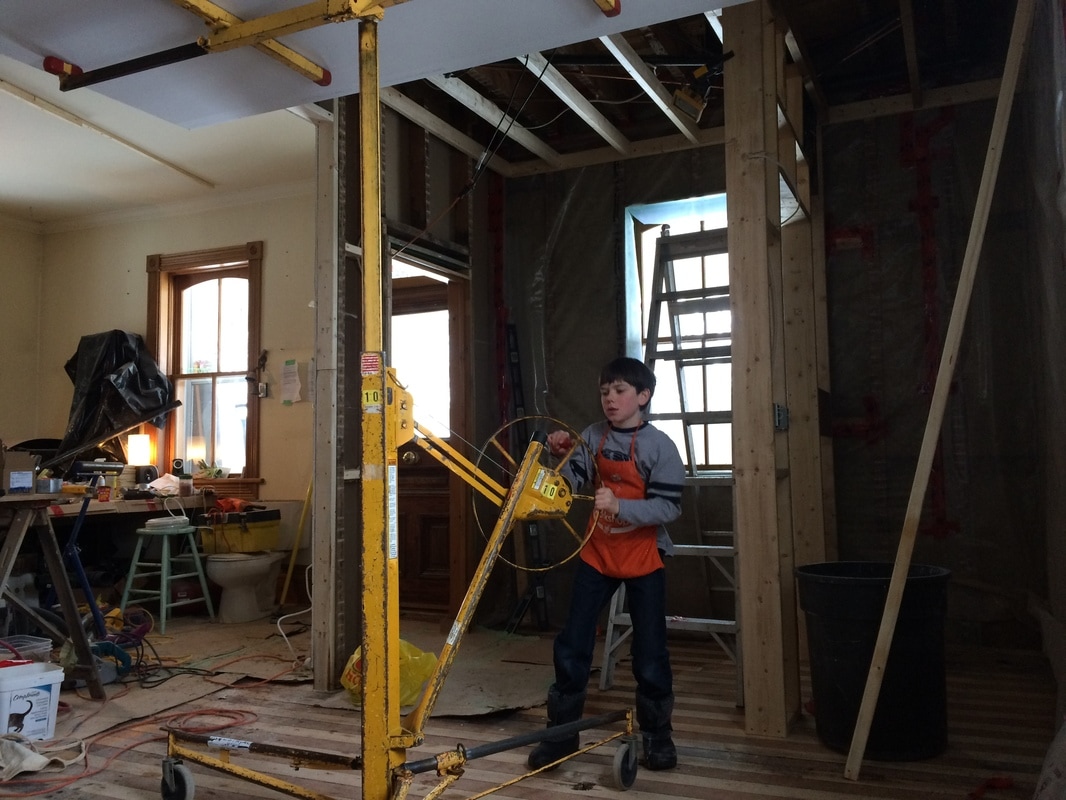
This pic taken standing in the kitchen space, so the bathroom will be in the right corner and the cloakroom beside it. The existing dining room to the left served as tool storage. Declan operated the drywall lifter to get it up the 9 1/2 feet.
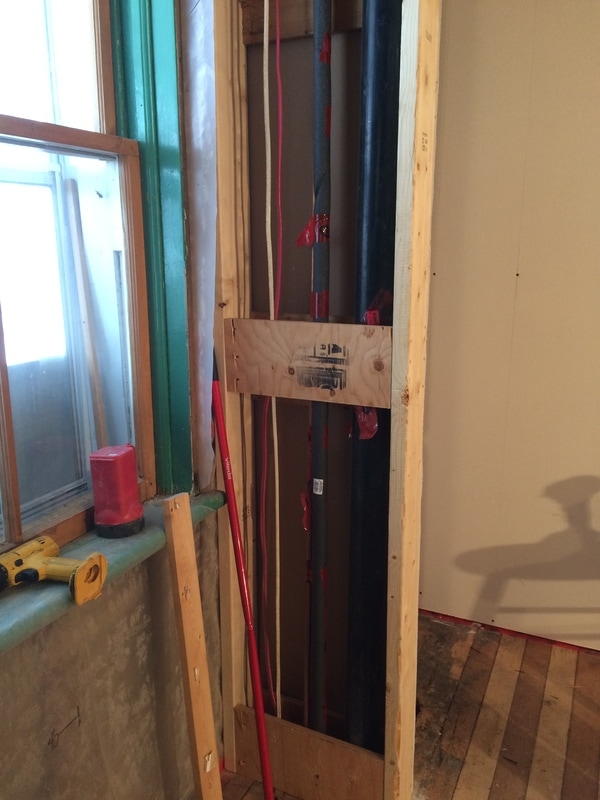
This stubby 2x6 wall houses the 3" ABS pipe from the upstairs bathroom, copper and new wiring. Much better.
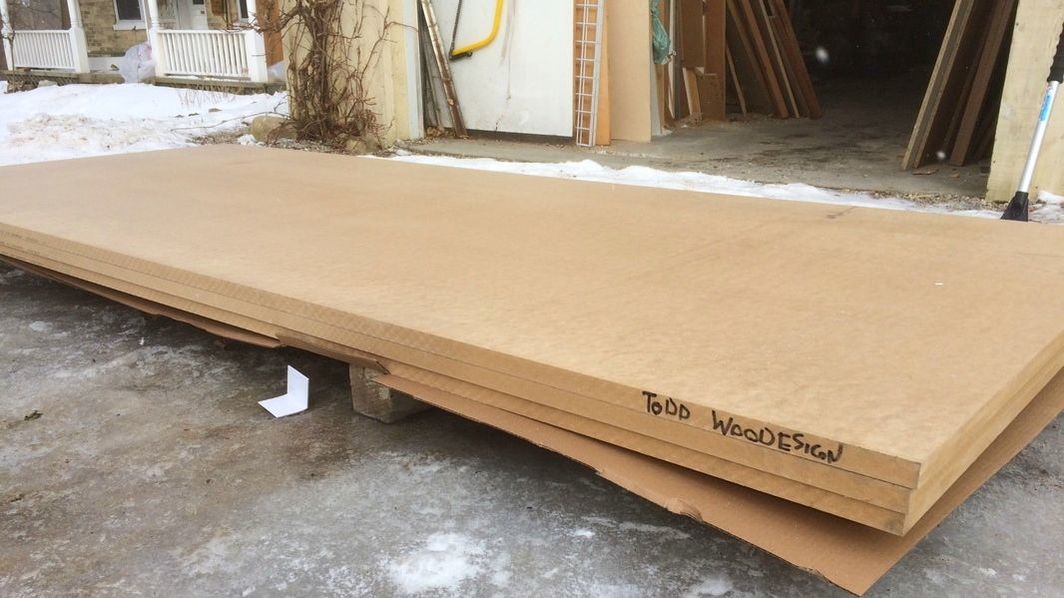
These 3 sheets make up the new wall. 1" MDF, 4' x 10' sheets. Delivered with a forklift. HEAVY. Once I had them cut to size and made a tongue and groove joint in them, I got my buddy Rick Wilson to come over and help me carry them in and lean into place.
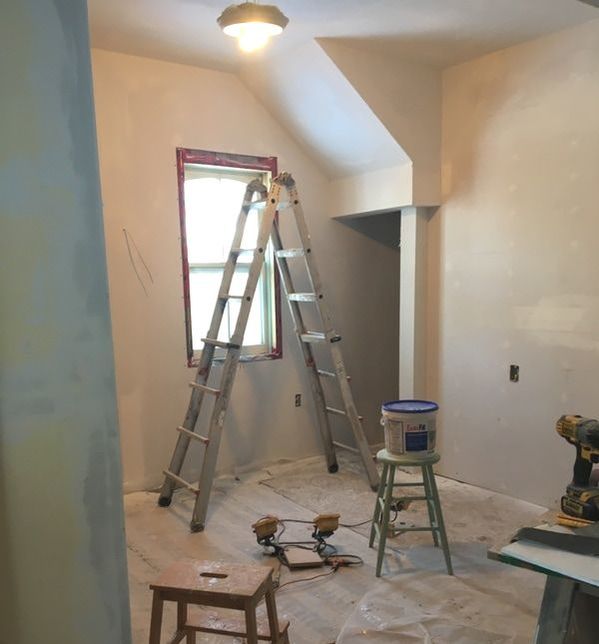
Mudding, sanding, mudding, sanding...
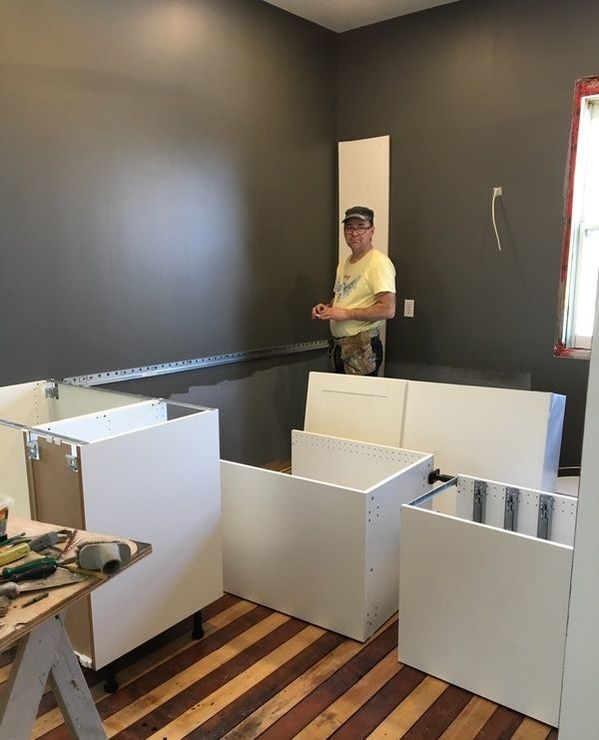
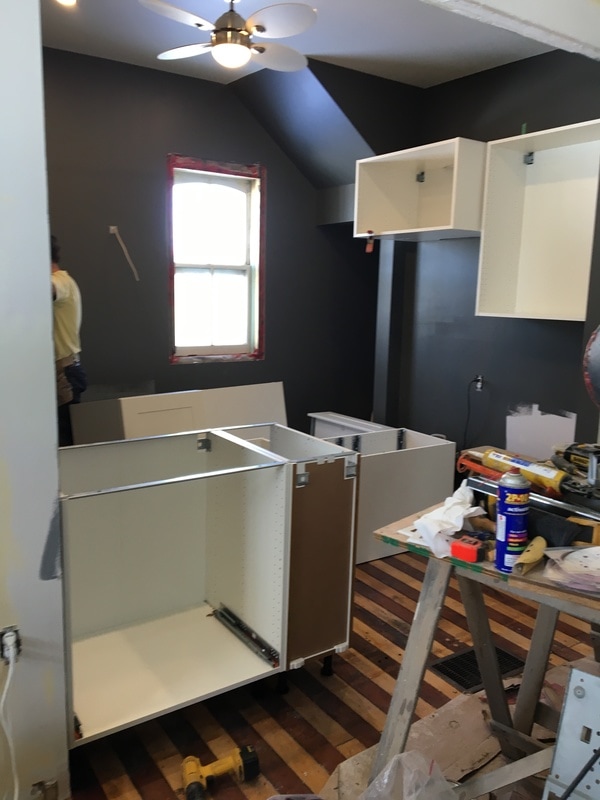
With the painting done the cabinets go in. It took one day to go to Ikea to get them and one to assemble. Brilliant. If I had needed to stop and make them I would've been pretty unhappy. Also, the cost of them is almost equal to the cost of materials if I was slugging 4x8 sheets around my shop. No brainer.
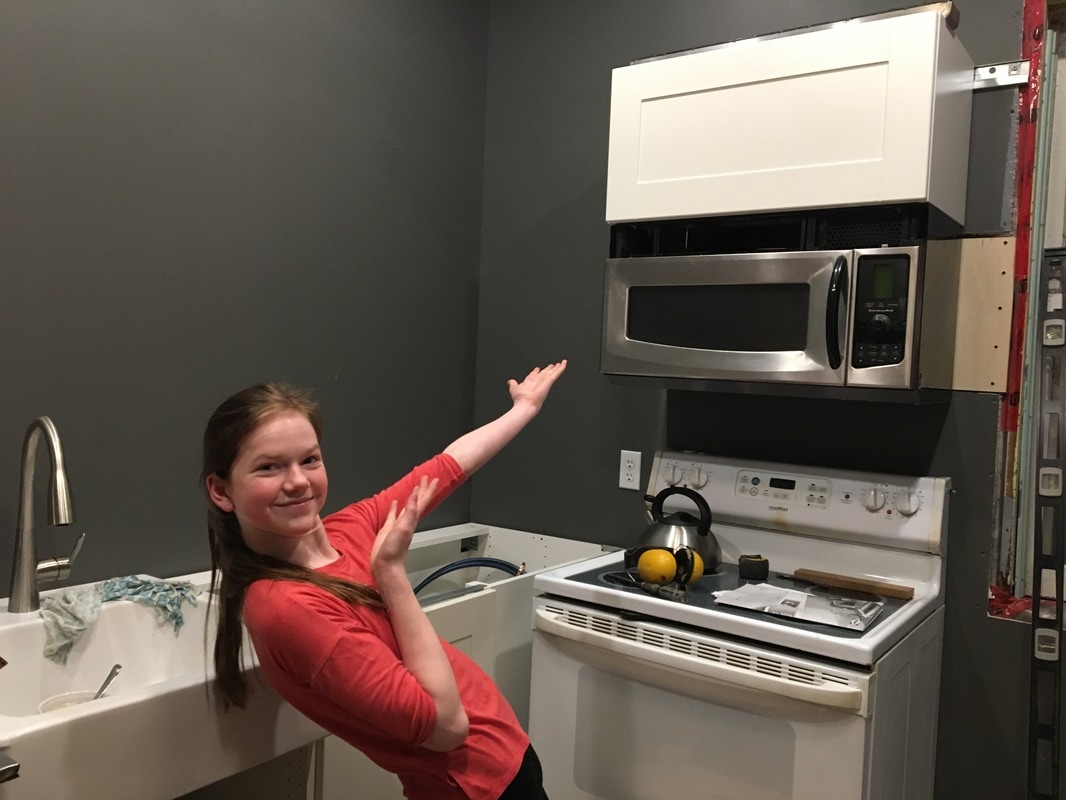
Olivia showing off the "new" microwave.
I actually stumbled upon it last summer in the reuse shed at the dump. It works perfectly, and yes, free. The person who dropped it off obviously knew that someone could still use it so they were nice enough to supply the manual, all parts including the mounting bracket and mounting layout sheet.
I'd like to have that person over for a really good meal. I should write a letter to the editor of the local newspaper when it's all done telling the story, maybe I'd find them.
|

These live edge maple shelves came from a tree 1km south and were milled into rough planks 1km north of me. Six 3/4" threaded rods per shelf extend 8" into the back, epoxied in place and bolted to the wall. Ta-da! No bounce or deflection at all.
Temporary melamine counters work quite well for now. For now.
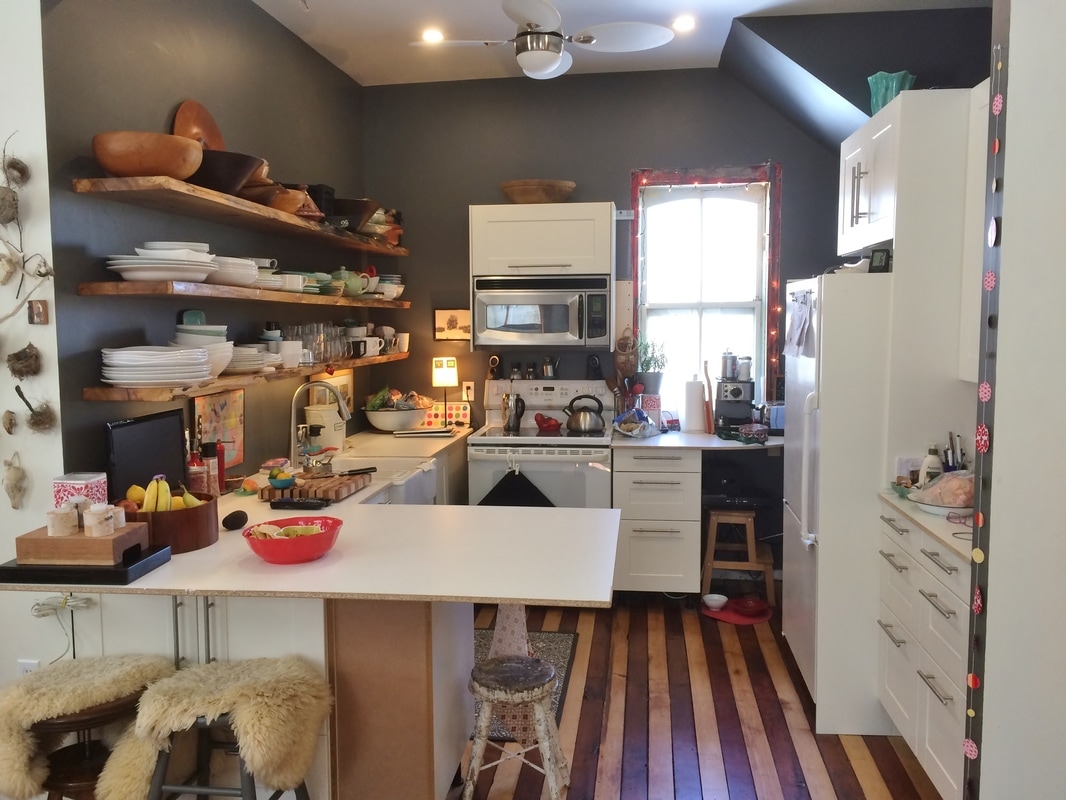
About 6 weeks later.
At this time I had to go attend to another reno job in a rental unit where there is an actual firm timeline (and make some money!) so this is where it had to be left at. Still to do are the counters, which might be butcher block maple dyed gray or black with a waterproof finish. The narrow cabinet in the front with it's back to us will be replaced with a dishwasher, which is twice as wide as that box. I'm going to make some stools, probably 3 or 4. I'll also make a pantry on the other side of fridge some day.
Oh and a propane stove some day.
And when the 17 year old fridge dies...
Kickplates, window trim etc., definitely livable.
The best part of all this...we actually hang out in our kitchen now!
